
Most of our standard Aspen and Birch wine boxes come unfinished for several reasons, which we will explain below. This blog post is to provide more information and options so you can decide if adding a finish is something you would like to do.
WHY ARE MOST OF YOUR BOXES UNFINISHED?
1. Finishes contain not so nice, smelly chemicals.
Our boxes are designed to store wine for extended periods of time. Most wine comes with a cork that allows the wine to breathe. When you store wine, it is recommended that you not store it anywhere that an odor can impart a flavor to the wine, like in a pantry with onions or garlic. Finished wood pieces generally give off an odor for quite a long time, even years.
2. The engraving process negates a protective finish.
Any finish applied prior to engraving our boxes would be burned off in the engraving process. Any protection it did provide would be compromised.
3. Finishes take a long time to apply properly and completely dry or cure.
While a finish may feel dry to the touch, they often take days, weeks or months to completely dry. Applying a protective finish after the engraving process would extend the delivery time to an unacceptable degree.
4. Finishes and stains "bleed".
We have done significant testing and, unless applied with great care, most clear or colored finishes will cause the engraving to "bleed" and look fuzzy. This is due to the fact that the engraving process is opening the end grain of the wood and when a finishes is applied it wicks the burned engraving color or stain color sideways into the grain causing a blurry appearance.
5. Finishes do not enhance the engraving.
Many times finishes (clear or colored stains) are applied to enhance or improve the look of the wood. They also make the wood darker and richer. Through are testing we have found the finishes do not improve and actually make the engraving loose contrast and become less apparent, which in turn degrades the boxes appearance.
6. Finishes can make the lids stick.
Finishes tend to add thickness and can warp lids which makes them not operate or slide as smoothly.
DO YOU OFFER ANY FINISHES?
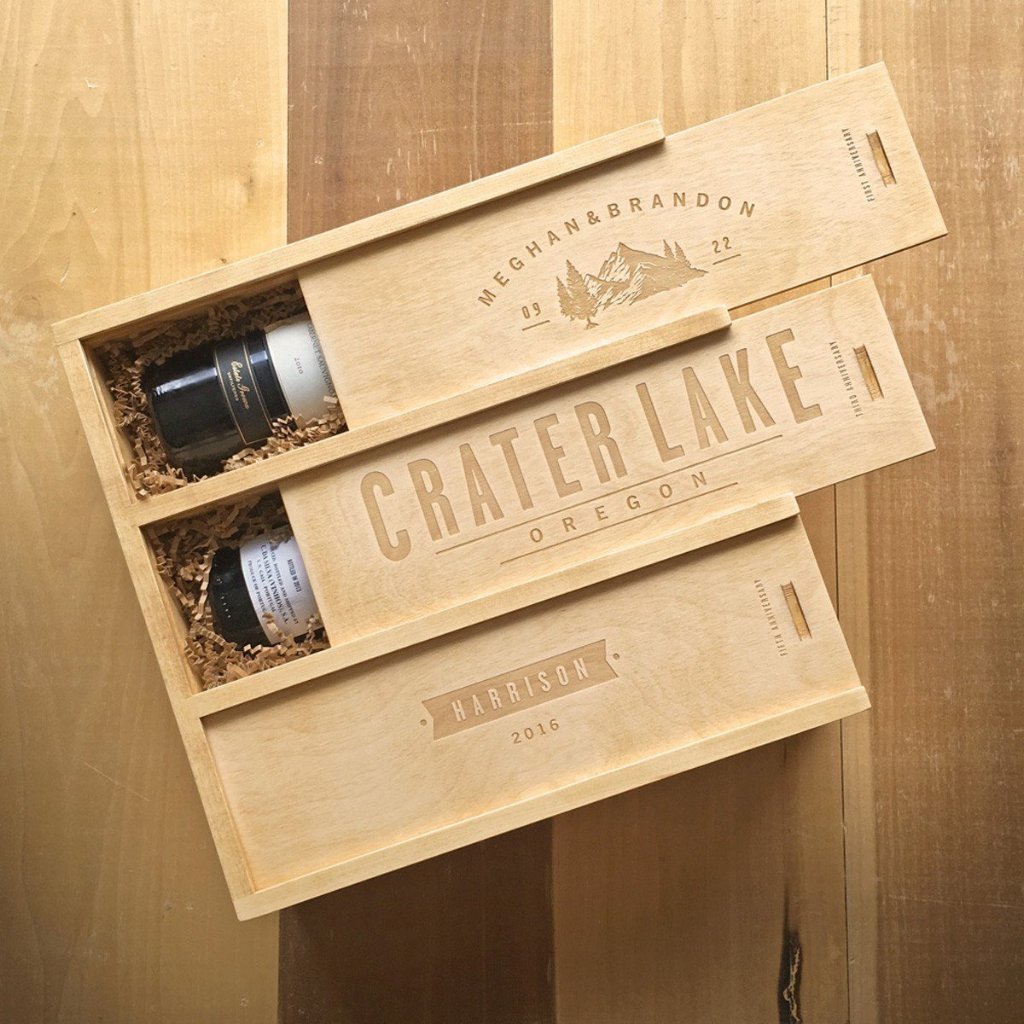
We realize that sometime a different look is desired so we do offer a limited number of finishes you can add for an additional fee to our Aspen and Birch wine boxes. These are aesthetic and not protective finishes. We do not recommend adding these finishes to boxes engraved with an uploaded photo. This option costs $39 and you can see examples on our Going Coastal, Into the Woods and Anchors Aweigh wine boxes.
CAN I ADD MY OWN FINISH?
If you are interested in adding a clear coat or staining the box yourself, you certainly can. Disclaimer: Customers have had mixed results - sometimes ending with them ordering a new box at their expense. We cannot take any responsibility for anything done to a box once received. We have created a brief tutorial below to show you how we apply a finish to a wine box.
HOW TO ADD YOUR OWN FINISH
Being DIYers ourselves we can appreciate that after reading the above you are still brave enough to attempt adding a finish to your wine box. Again, this is meant to be helpful information to point you in the right direction but we take no responsibility for the results, so continue at your own risk! Below are two options. The first is adding a clear finish, the second a stain or colored finish.
ADDING A CLEAR FINISH
If adding a clear finish we would recommend using a water based polyurethane and spraying it on the box. We would recommend doing several very light coats to start, letting each coat dry in between spraying. The idea is to build up the finish slowly and let it dry without causing the engraving to bleed. Try to keep the surface from looking wet until you have done 3-4 coats. Then you can apply slightly heavier coats of finish. You will probably need to lightly sand between coats and you might need to sand the edges so they will slide in the box after adding the finish.
ADDING A STAIN OR COLORED FINISH
After extensive testing, the best results we have found have been with Minwax water-based stains in conjuction with their water based pre-stain conditioner. We would follow this with adding a clear top coat as described above. Generally lighter stain colors work better than darker shades. The darker colors tend to hide the engraving and make it less apparent and "bleed" more.
The box comes to you sanded so not much preparation should be required. The first step is to take out the lids and apply the pre-stain conditioner to the lids and box as directed. Then follow that with the water-based stain as directed. We typically do not apply stain to the inside of the box, lid grooves or on the edges of the lids except for the end that is visible when the lids are in the box. Once the stain is dry you can spray a clear finish as recommended above. Let the box dry for several days (or longer if you have the time) before adding wine and putting the lids back in the box. Adding finish can warp the lids so they may not fit or operate as smoothly. Some sanding may be required but be careful not to remove the finish.
Again, results vary and we do not recommend trying this unless you feel comfortable applying a finish and realize that the results may be unsatisfactory.